Requirements API Quick Start
Streamline the visa application process with the sherpa° Requirements API
Introduction
Get up and running with the sherpa° Requirements API in just a few minutes. This guide will teach you to add visa requirements and more to your platform with just a single API request.
1. Get API Key
If you don't have your API key yet, please request it here or contact your Partner Success Manager directly.
This guide assumes the
sandboxdevelopment environment. You will require separate API keys for thesandboxandproductionenvironments.
2. Import Postman Collection
Postman is a tool for easy RESTful API exploration. You can use Postman to test API calls multiple times without writing code. Get started exploring the API using your sandbox credentials before moving to development.
-
If you do not have Postman installed, we recommend downloading it from the Postman website.
-
Click the button below to import the sherpa° Requirements API Preview collection.

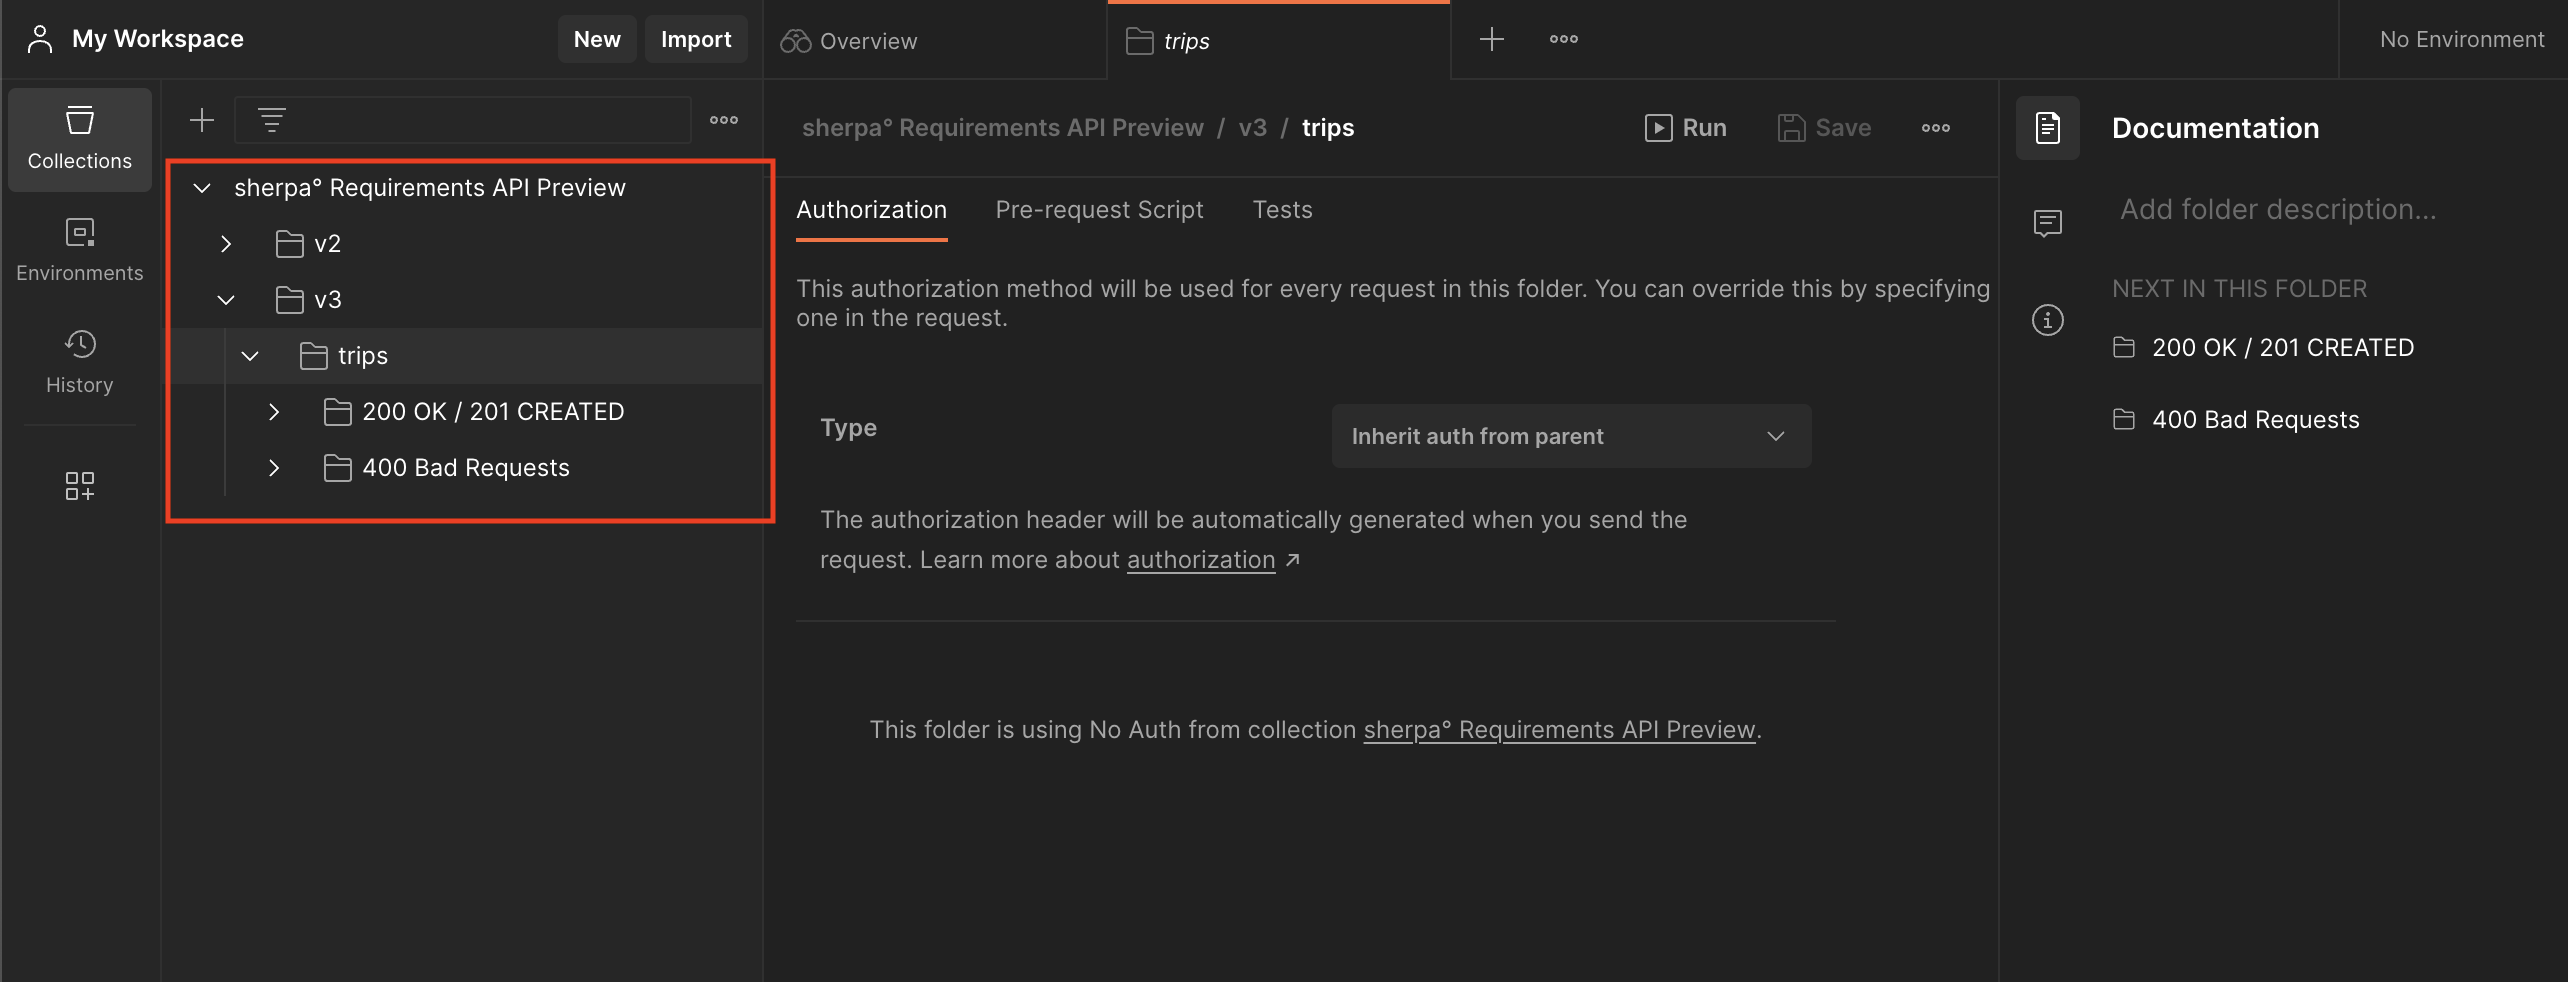
Make sure you are using v3 of the Trips endpoint as it is the newest and has the most up to date features and improvments.
3. Set Variables
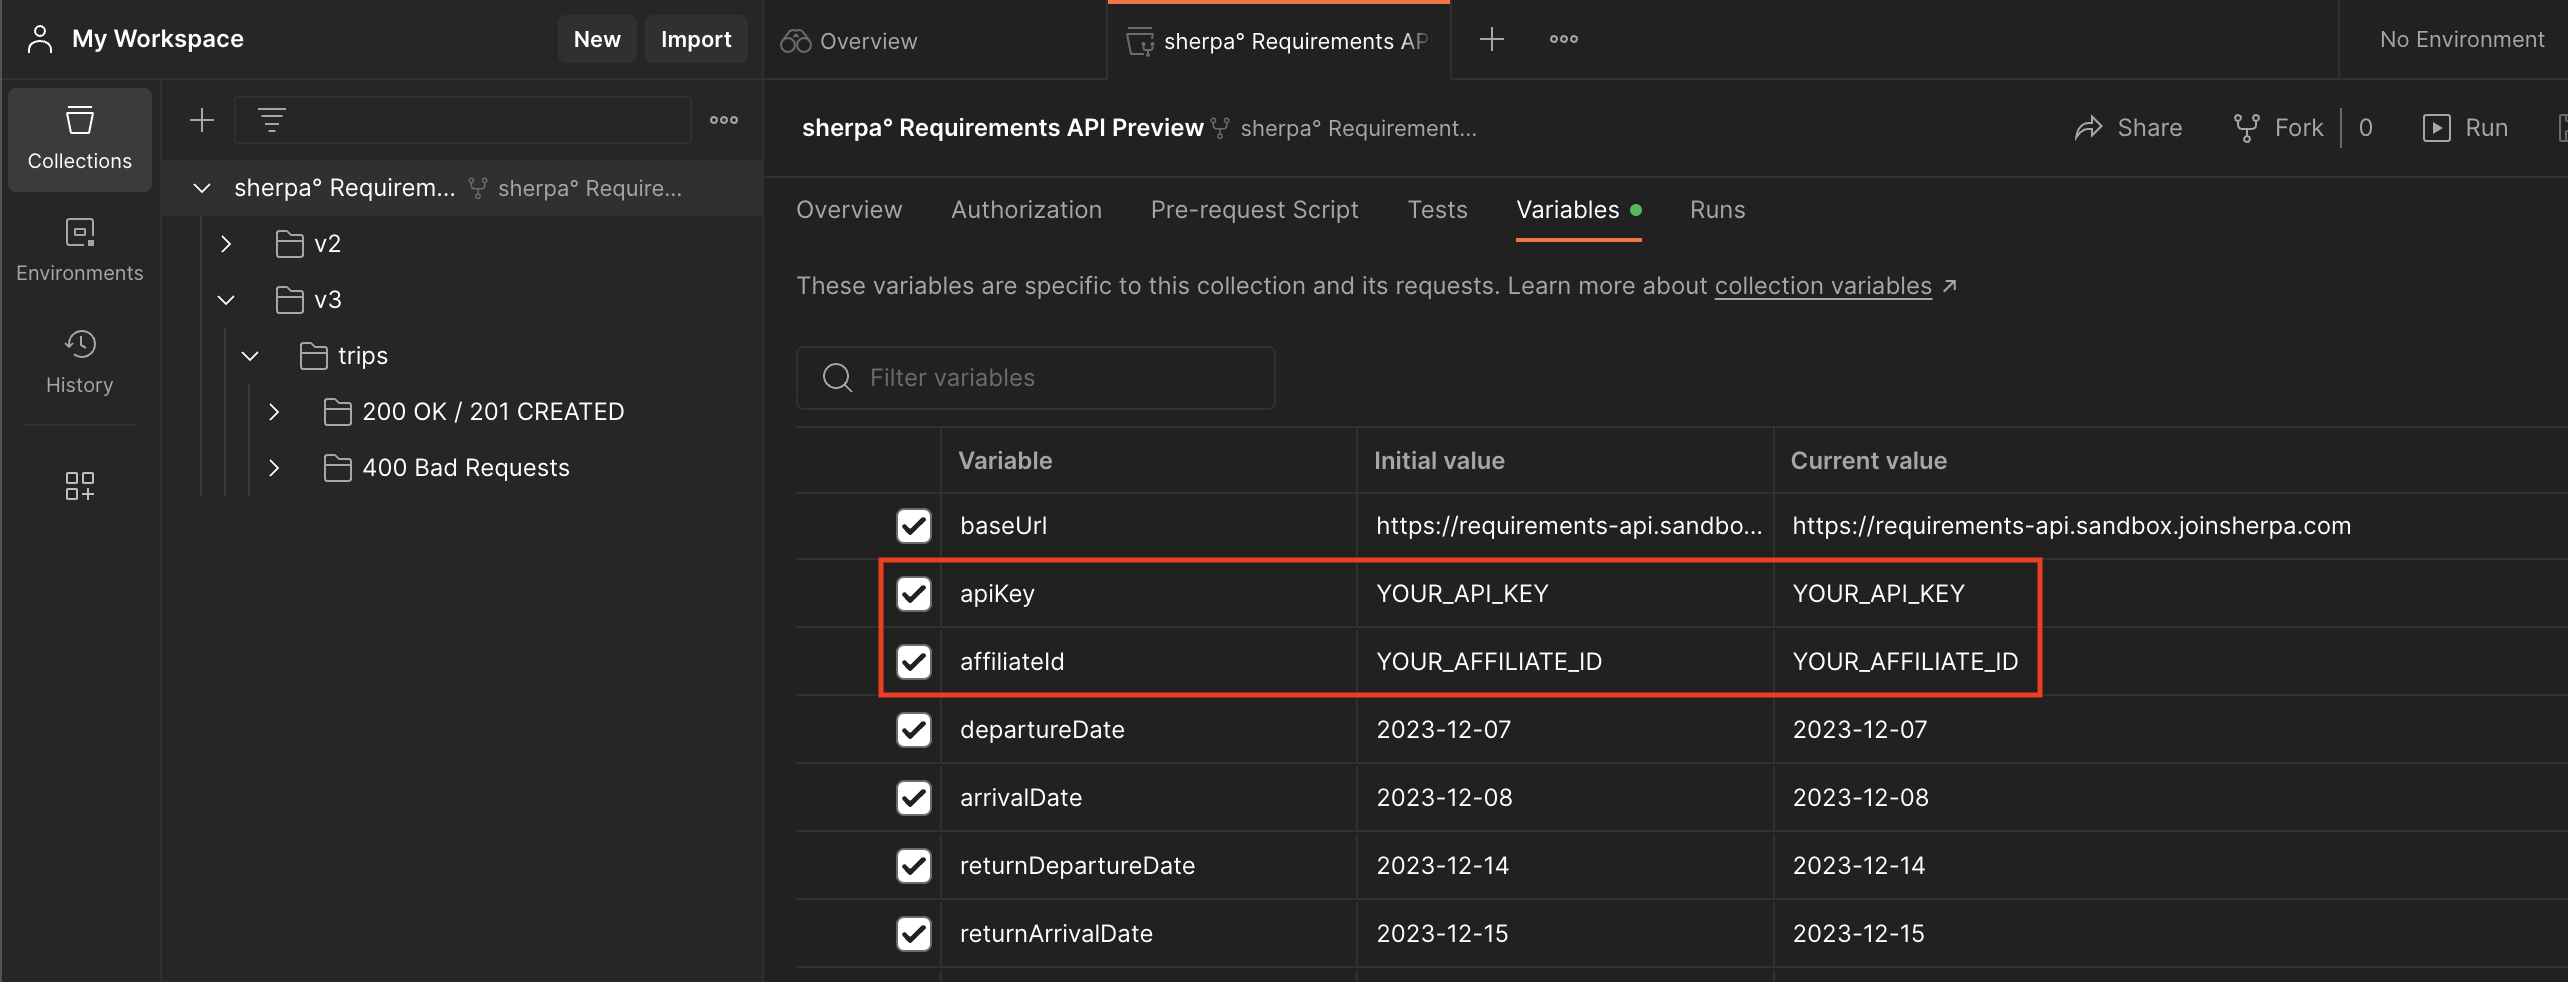
In the collection's Variables tab, input your API Key and affiliate ID in the fields titled apiKey and affiliateId respctively. These values will be automatically used with all API requests in this collection.
For the
productionenvironment, setbaseUrlto https://requirements-api.joinsherpa.com.For the
sandboxenvironment, setbaseUrlto https://requirements-api.sandbox.joinsherpa.com
You can also adjust the dates for the trip example on this tab. The dates entered here will also be automatically used in any requests made.
4. Make an API Request
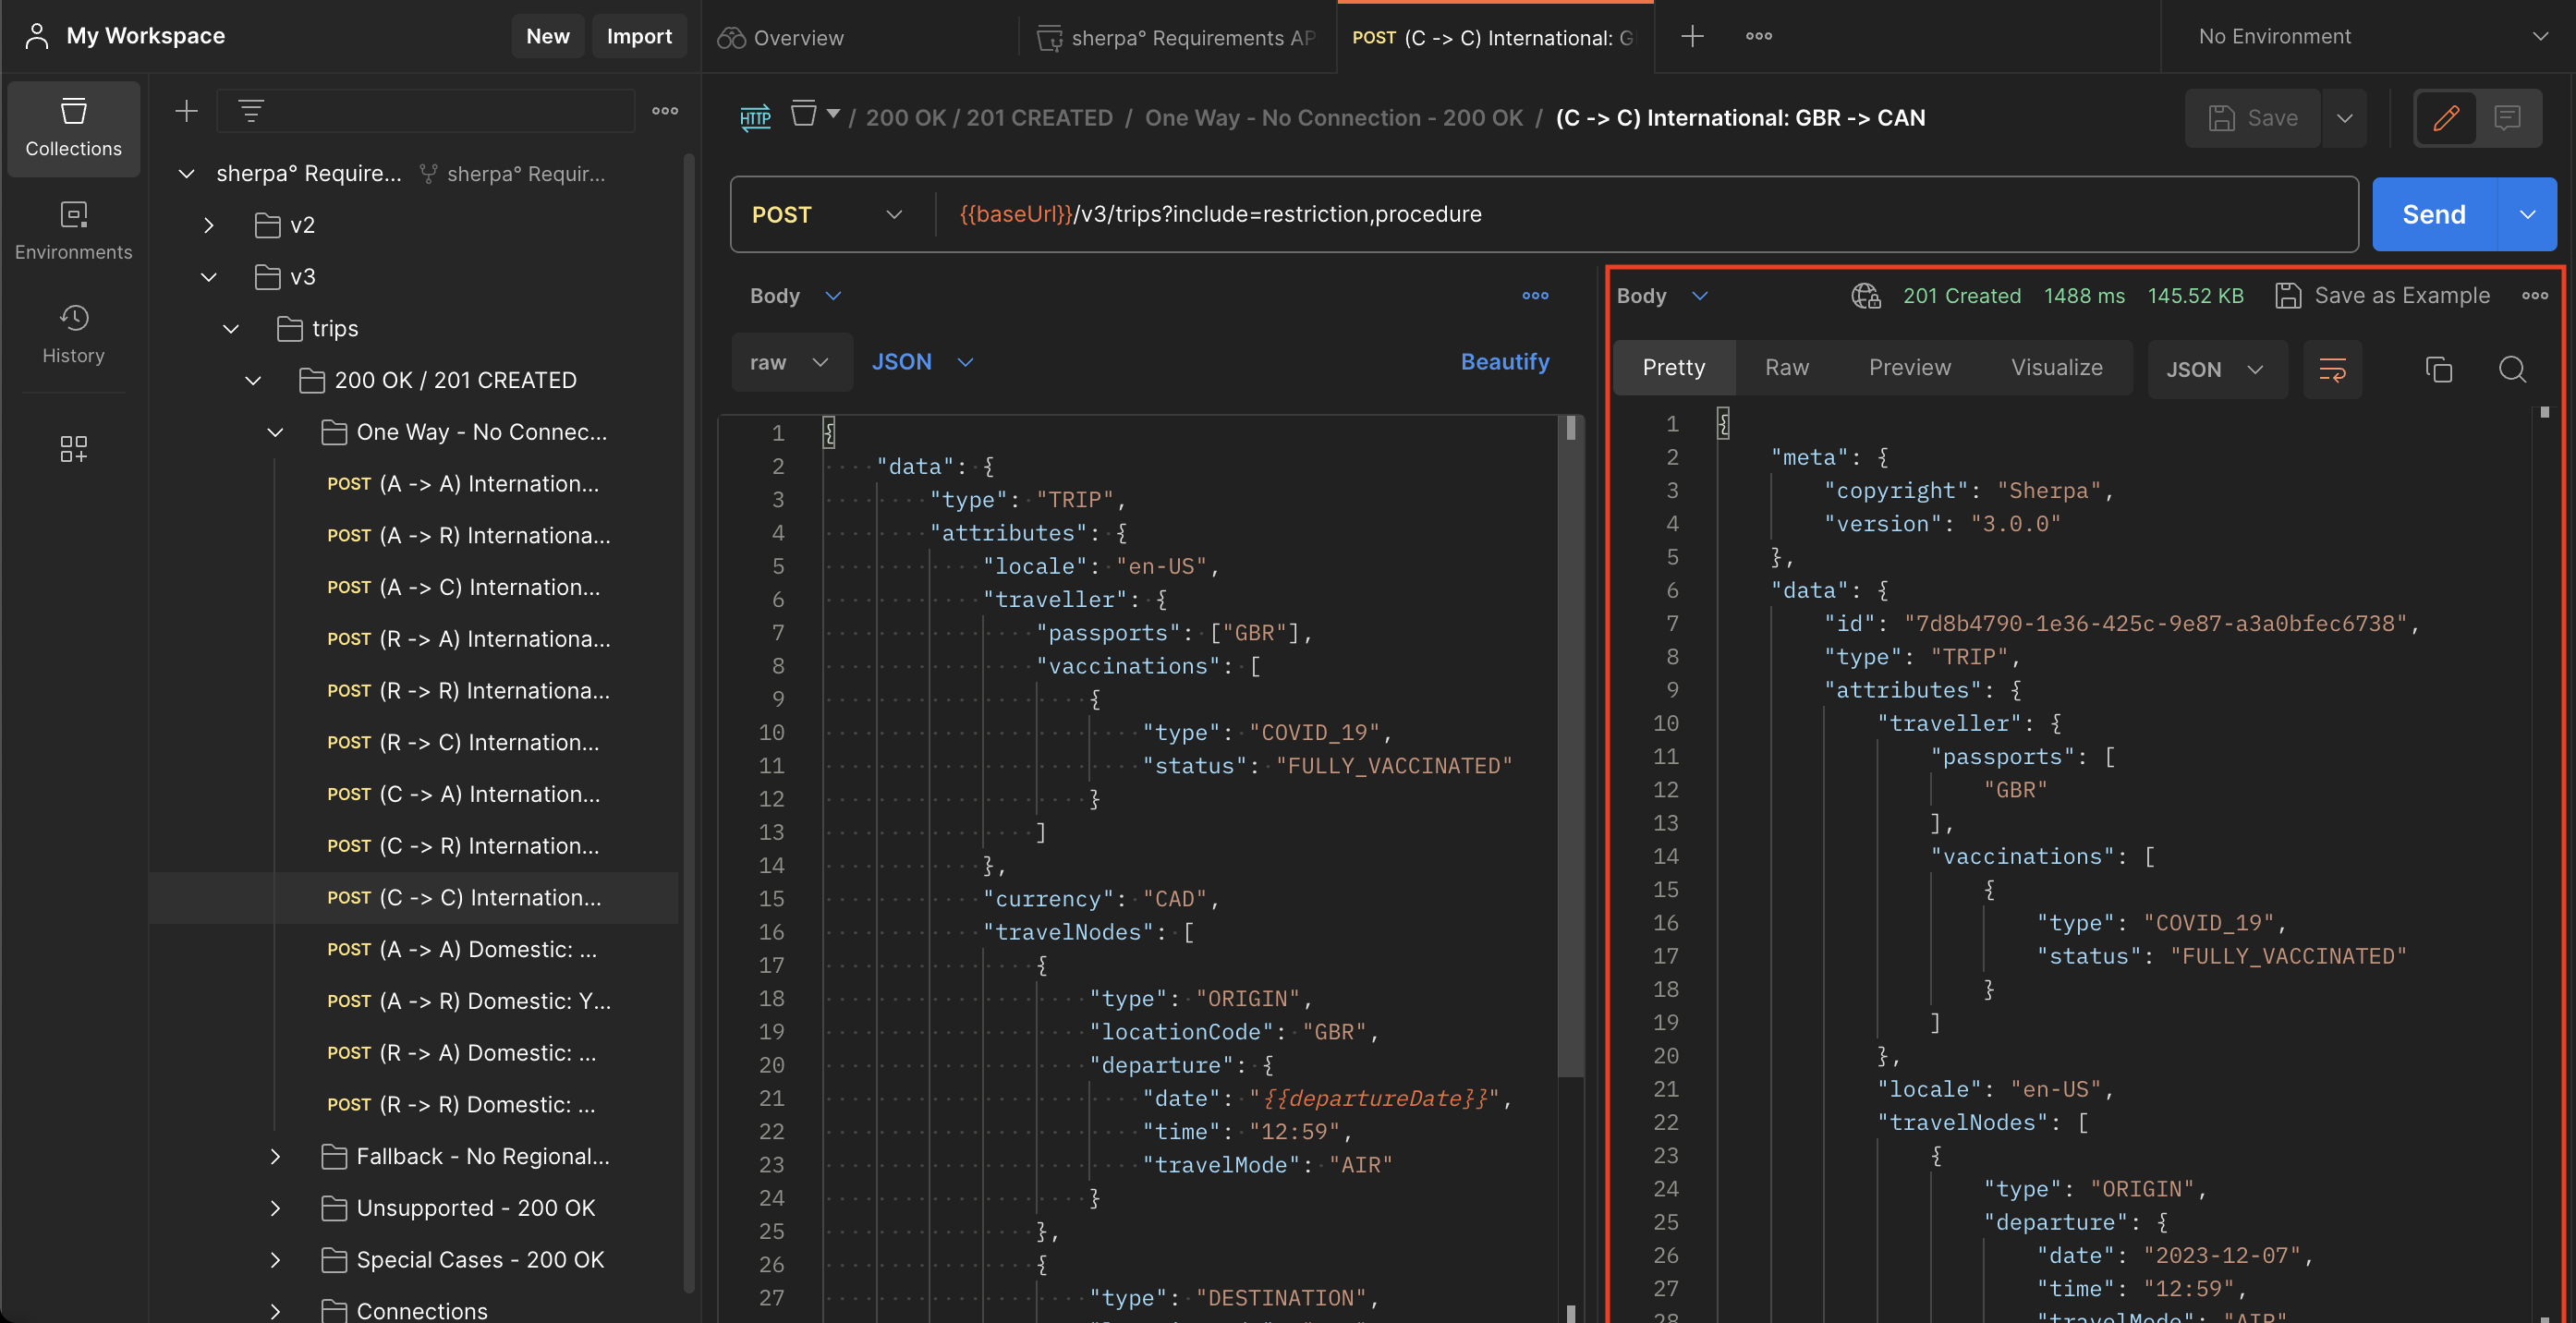
Choose an API request from the collection and click Send. This example shows an international, one-way trip from the UK to Canada.
The example trips in the collection are denoted using the codes
A,R, andCreferring toairport,region, andcountryrespectively.For example,
(A -> A)refers to a trip with particular airports as the origin and destination while(C -> C)specifies just the countries.

5. View the Response
Review the structure of the response and check out this tutorial to get an understanding of how you can use this response data to display the requirements on a front-end.
Updated about 2 years ago