Map Element Quick Start
Add the map to your web platform in 5 minutes.
Introduction
You will learn how to embed and configure the Map Element on your web page. By integrating the Map Element with the sherpa SDK, you can personalize the map and open the world to your users.
You will learn how to pre-fill origin and destination and show content localized for the user.
1. Setup sherpa° sdk
You need to include the sherpa° SDK by adding the script tag to the head of your HTML file and include your personalized APP_ID.
You will need to select the appropriate URL and APP_ID depending on whether you are using our Sandbox or Production environment:
<!-- PRODUCTION Environment -->
<script src="https://sdk.joinsherpa.io/widget.js?appId={{APP_ID}}"></script>
<!-- SANDBOX Environment -->
<script src="https://sdk-sandbox.joinsherpa.io/widget.js?appId={{SANDBOX_APP_ID}}"></script>
2. Embed Map Element
Place an empty <div> tag on your page where you want the Map Element to appear.
<div id="sherpa-map-element"></div>
Use the sherpa sdk to create an instance of the Map Element object and attach it to the DOM of your site by mounting it to a an existing HTML element on your page.
The mount method accepts a valid CSS Selector.
Always include placement
Include a placement attribute when embedding the map element for engagement and conversion tracking. Without the placement, analytics reports will be limited.
const elementConfig = {
  placement: "discovery"
}
$sherpa.V2.createElement('map', elementConfig).mount('#sherpa-map-element')
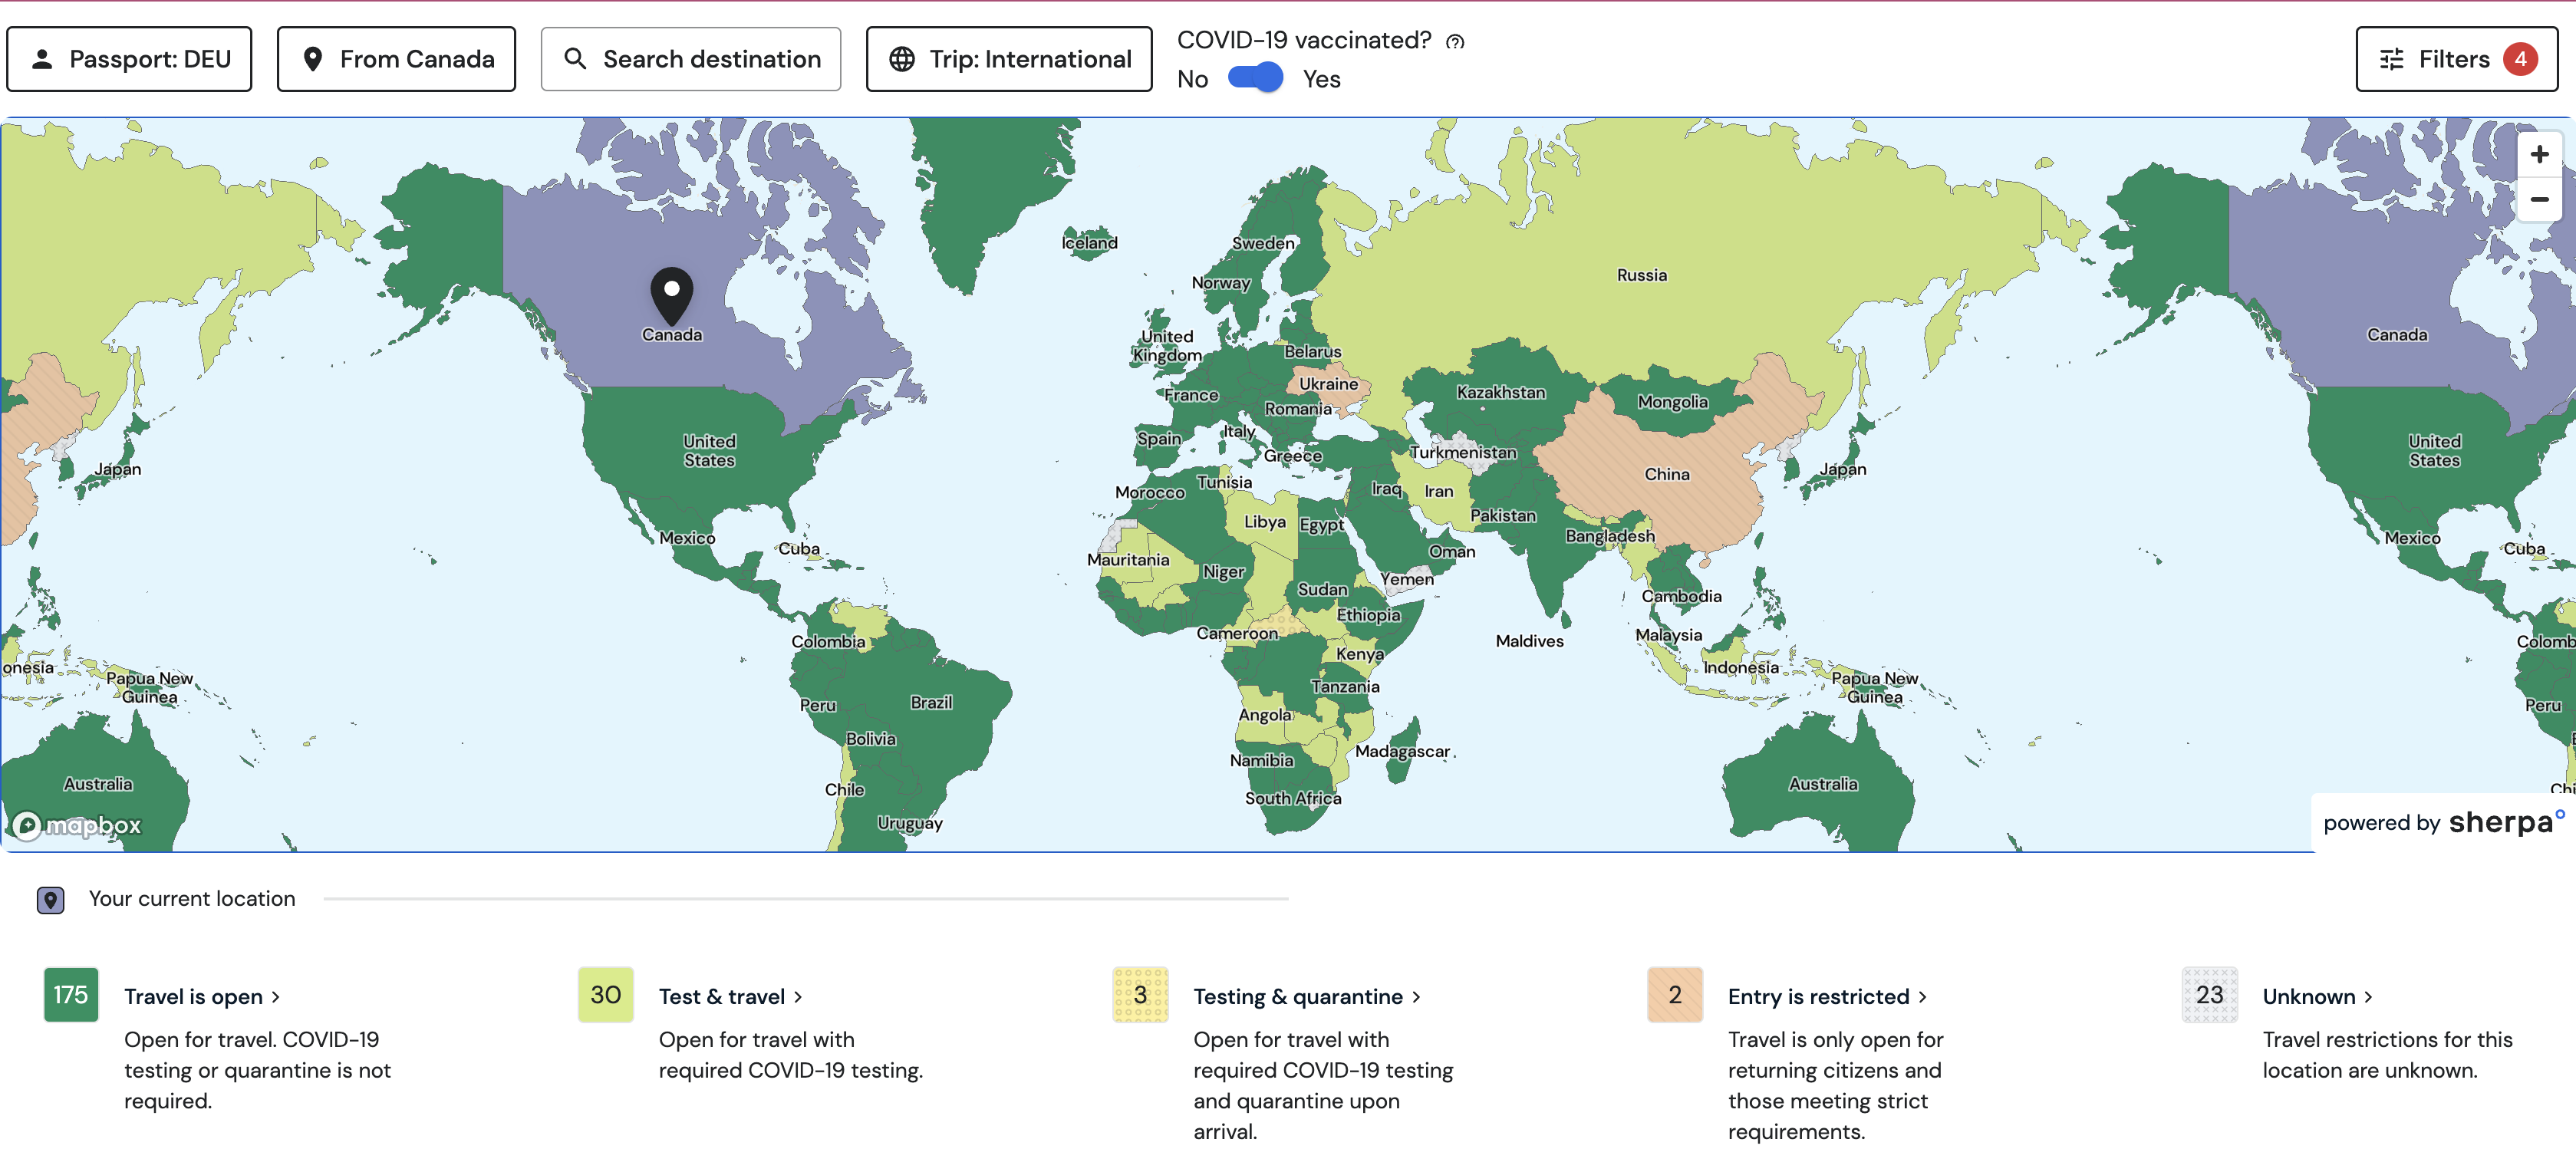
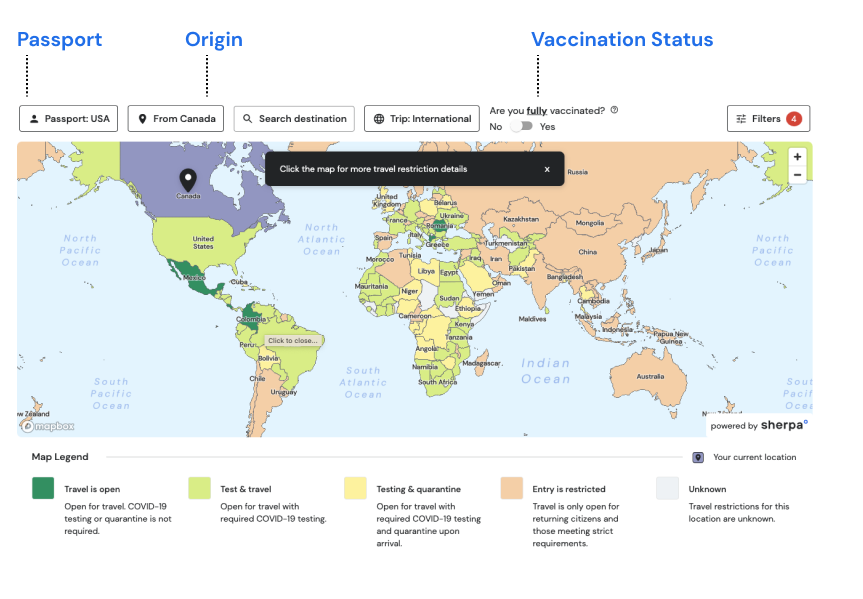
You should see the Map Element appear on your page.

3. Personalization
By default, the map tries to determine the origin and passport of the traveller by the browser timezone. The sherpa sdk uses a custom map of 429 timezones to country codes.

Personalize the map by extending the elementConfig object.
const elementConfig = {
	defaultNationality: "GBR",
 	trip: {
    originCountry: 'GBR',
 	},
  placement: 'discovery',

}

$sherpa.V2.createElement('map', elementConfig).mount('#sherpa-map-element')
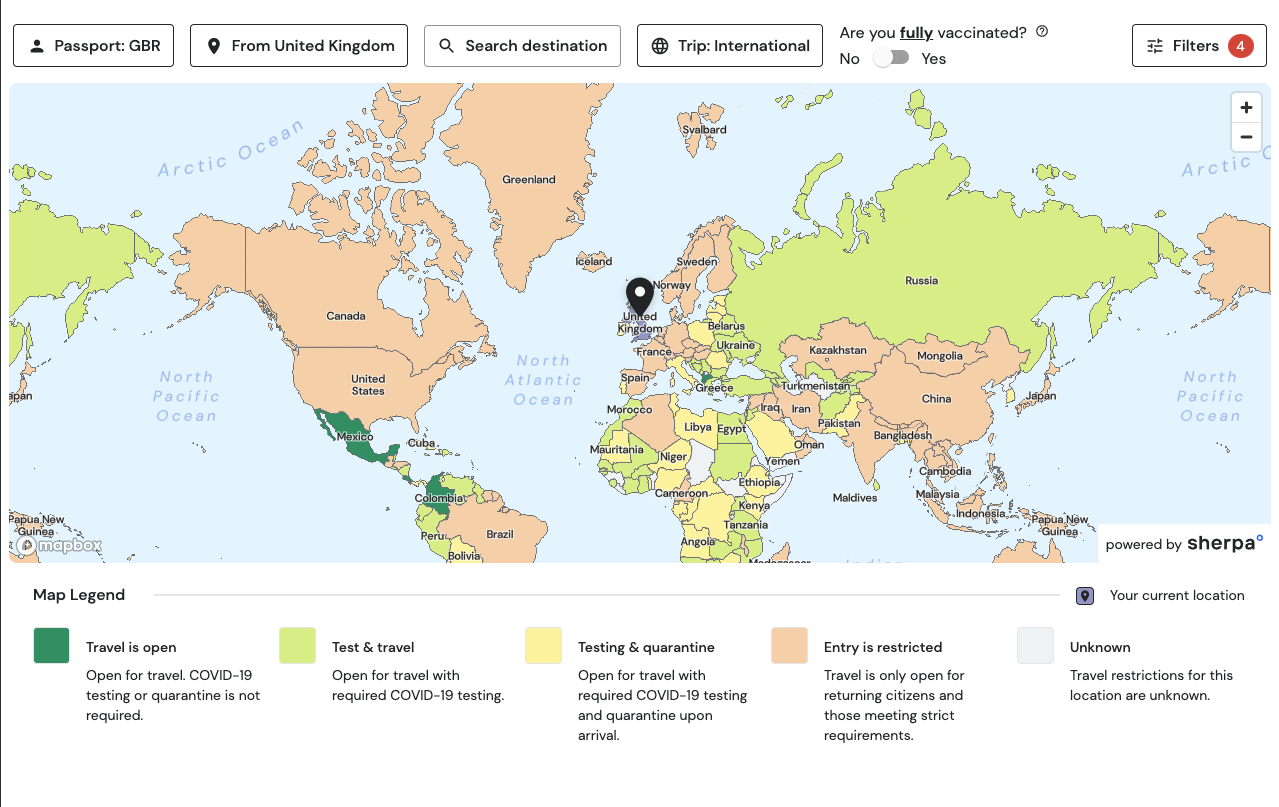
You can see an updated location pin on the map. The map will automatically pan to the origin country on mobile for a better user experienc

4. Optional - Analytics
Improve analytics reports by specifying standard UTM tags. These tags will show up in your analytics reports provided by sherpa°.
The utm tags are not manipulated by sherpa°.
Extend the elementConfig object with analytics.
const elementConfig = {
	defaultNationality: "GBR",
 	trip: {
    originCountry: 'GBR',
 	},
  placement: 'discovery',
	queryParams: {
    utm_source: 'email',
    utm_medium: 'newsletter',
    utm_campaign: 'summer-return-to-travel'
  }
}

$sherpa.V2.createElement('map', elementConfig).mount('#sherpa-map-element')
5. Optional - Localization
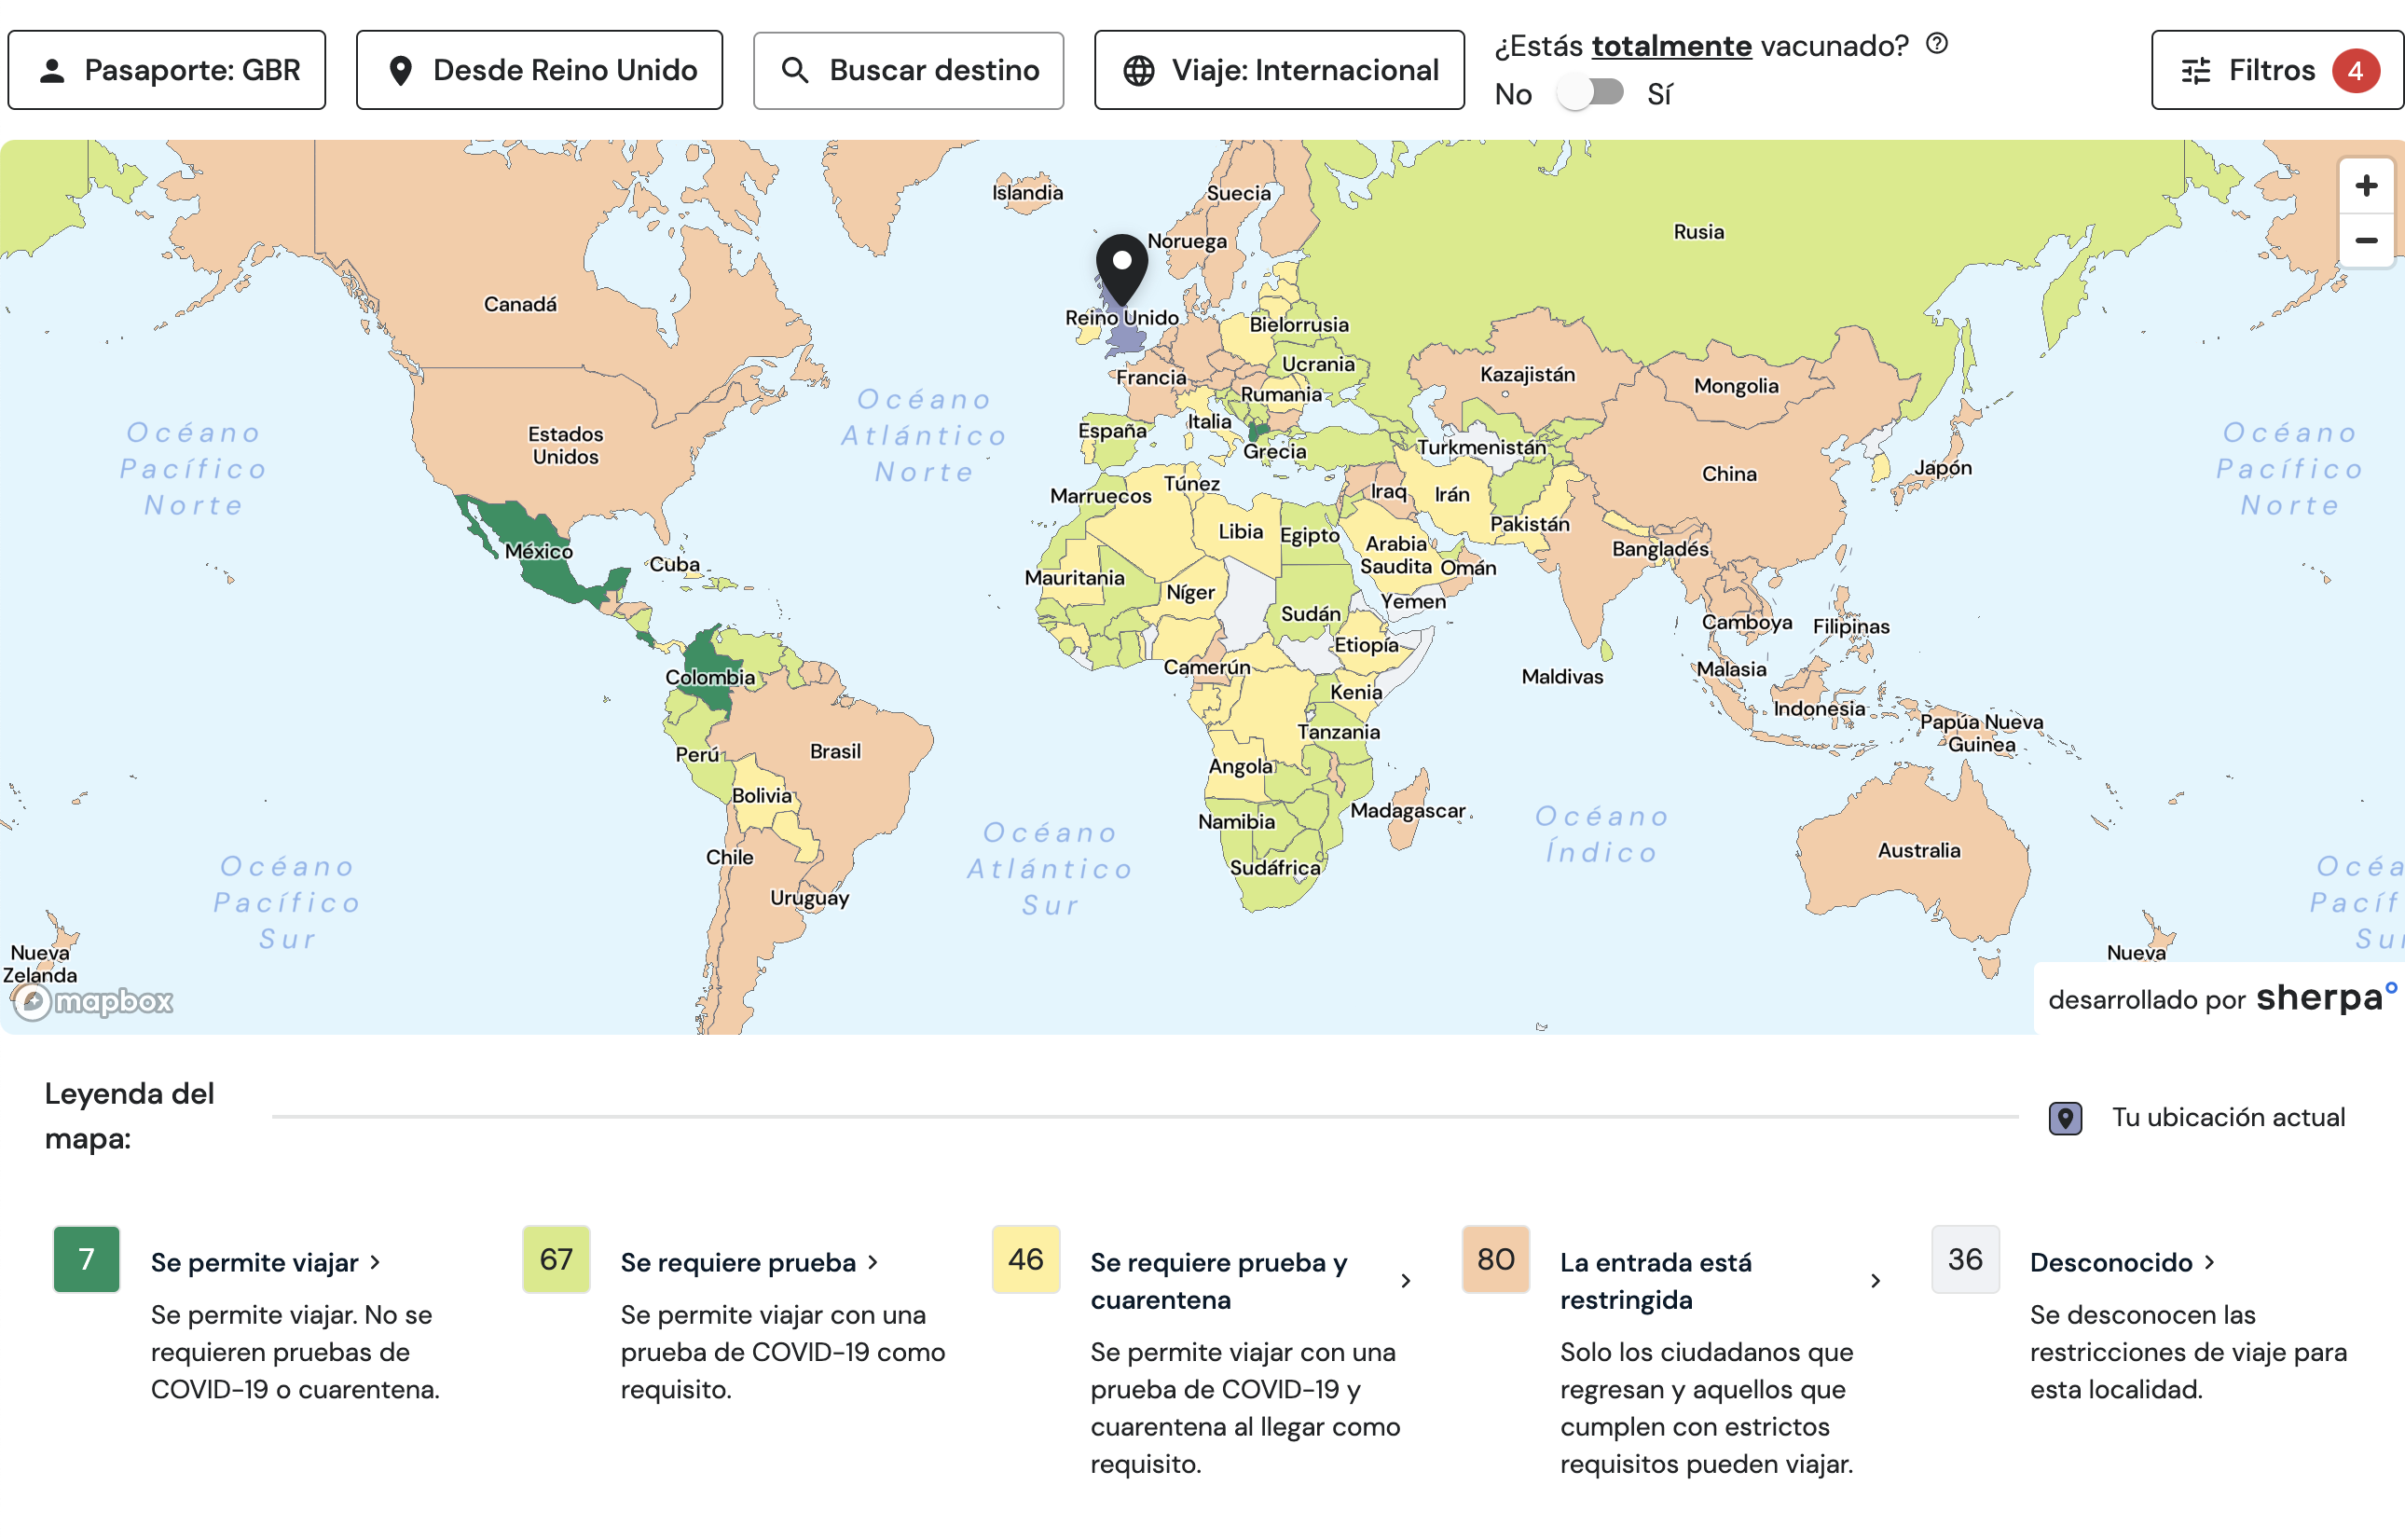
Add a language parameter to show information in your user's preferred language. See the list of supported locales.
const elementConfig = {
  language: "es-ES",
	defaultNationality: "GBR",
 	trip: {
    originCountry: 'GBR',
 	},
  placement: 'discovery',
	queryParams: {
    utm_source: 'email',
    utm_medium: 'newsletter',
    utm_campaign: 'summer-return-to-travel'
  }
}

$sherpa.V2.createElement('map', elementConfig).mount('#sherpa-map-element')

Updated over 2 years ago
